We finally have Lil' A's room done, and I have to say it is my FAVORITE room in the whole entire house!
If you remember a while back I had found a little birdie that helped me make up my mind on the direction I wanted to go with the nursery.
For the most part I feel that I have held true to the original plans (although nothing stays exactly the same way it was planned) with the exception of the fabric I wanted to use.
Throughout most of my pregnancy I swore to myself that I would not go super girly in the baby's room, I myself am not a girly girl and I wanted to create a room that my very masculine husband would feel comfortable spending some time in as well.
*Turns out it wouldn't matter if I painted it hot pink, if the baby is in there my husband is in there. He only has eyes for her (and me)!
However the closer it was to her being born the more girly I got, so when one of my friends passed down her crib bedding... all pink and green and flowery, I took it and ran. I adore the garden theme anyway and it still goes perfectly with the birds and green in the original plan.
The overall effect is very calm and peaceful (we're hoping that rubs off on the child =)
I still kept the room toned down on the girly side but I love that it is just feminine enough to let everyone know that it is a room for a sweet baby girl.
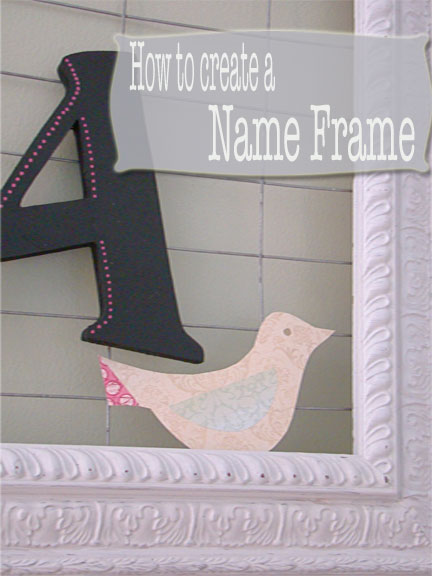
I love the frame over her bed, it was so easy to make and I wanted to pull together the birds with the chicken wire
(I thought it was very appropriate).
Her dresser was a yard sale find that was a a cheap looking yellow pine piece (Uggg). We stripped down the top and brought it back to a nice natural look that matches very closely to her crib, then painted the lower part a soft ivory. I wanted it to have a little more definition against the white beaded board walls and not get lost so much.
The "colly birds" dish I just snagged at Pottery Barn has moved upstairs to hold onto all of baby's hair bows. I think their adorable but hubby thinks they look like brain constrictors, so right now they are decor!
I love how the curtain filters the light shining in thru her window, this room is the brightest in the house but it also faces the neighbors back yard. Now... we are much closer with our neighbors than anyone should be (love/bicker with them like siblings) but I don't necessarily want them to witness our 3am nursing time while their dogs are doing the 3am peeing thing, hence the single panel over the entire window.
This banner was super easy to make...scrapbook paper, glue stick, and a ribbon.
Trust me you can figure it out.
This little guy is battery powered and flutters around in his jar when he detects movement,
I can't wait till baby is alert enough to actually watch it.
On the other side of the room is the changing station, again with some cute little birdies hanging around.
I am all about the functionality of a proper changing table, but not at all about the exposed and necessary storage of baby mess. So up went the panel I made to hide the storage with fabrics that kinda matched the crib set.....so nice and pretty now!
See baby mess is still there...
The birdie mobile is a "mommy made" project, this was really fun to make... for some reason I always feel like things come to life when I get to stuff them!
(sounds weirder than it is)*
Hey look....my little guy found a home!
The door handles are going to be switched out with black ones.
This little green house was pulled out of the trash a while ago...
I have always adored the little bird perched on top, but it is missing the top layer of glass so not really effective anymore, just pretty!
OK....
now the functional side of things that we cannot live without!
No. 1 Baby Monitor
My in-laws gave us an awesome baby monitor, it is the "Summer" brand. Really all their monitors look great. This one has an eye in the sky to spy on the baby. (sorry.. I went a little Dr. Seuss there). You can even rotate said eye and spy around the room as well as zoom in on the picture.
See... an aerial view of the crib. This one is very sensitive on hearing as well, it can pick up even the slightest whisper, or you can turn the volume off to watch the baby in peace and quiet. Then if you are really brave you can turn the screen and volume off, it has a nifty thingy at the top that shows the volume (when baby screams it goes red) this feature works well for me, baby screams for 5 min when you put her down then passes out. It took a while to figure out she was just working herself to sleep, if I hear her or see her flail I want to pick her up but for some reason the volume meter isn't as unsettling. *go figure
No. 2 Mobile
This works well at night with the projector that show a nature scene on the canopy and plays music, then at nap time she just watches the animals dance around her head and listens to music. In the mornings sometimes she wakes up and starts talking to the animals, we listen in on the conversation thru the baby monitor. Love that girl!
No. 3 Storage
A while ago we started to give our closets an
overhaul
Well they are finished (for now) and are providing plenty of much needed storage space.
Door #1
hubby built me some shelves to contain even more baby mess, eventually this side will be turned into a reading nook but for now it holds all the extras.
Door #2
Cute baby clothes!
Plenty of room left but their clothes are so small.
There you have it, now I'm already planning her "Big Girl" room.
I know I know...I need to slow down!
*Angela*